
Most of your time will be spent developing content for your website
not designing & fiddling with it. DoItYourSelfSiteBuilder helps you
focus on the important stuff.
Getting started in 3 easy steps
The three-step getting started process looks like this:
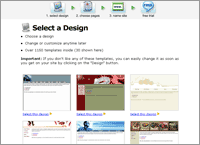 |
Step 1: Choose a Design
Click on a design.
- 30 are shown but over 1200 are available inside.
- You can change designs any time.
|
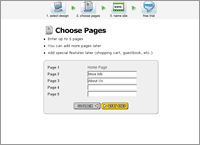 |
Step 2: Choose Pages
Name up to 5 pages in your site.
Add more later any time. |
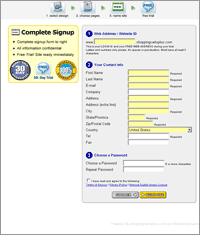 |
Step 3: Choose a Site Name, Enter Sign Up Info
Choose a site name.
Enter sign up information.
You're done! |
Add a Page
Adding a page takes about one minute:
 |
Step 1: Click “Add Page” in the toolbar
By clicking the “Add Page” button, you will start the
Add Page wizard. |
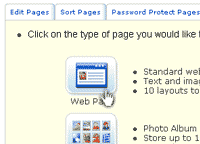 |
Step 2: Choose a page type
Choose from 35 layouts.
- Regular web pages
- Photo albums
- Message boards
- Custom forms
- more...
|
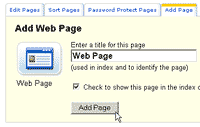 |
Step 3: Enter a page name
Enter a name for your new page, then go ahead and edit it. See
below for editing info. |
Editing a Page
Editing a page takes about one minute. See example below or click
here for the video.
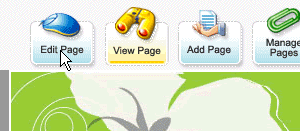 |
Step 1: Click Edit Page
A toolbar is always shown at the top of every page in your website.
Only you can see it.
Click "Edit Page" in the toolbar to edit a page.
If you just added a page, skip this step as you will automatically
be taken to edit mode. |
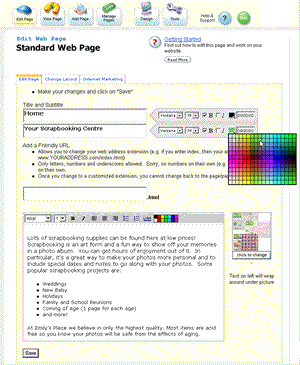 |
Step 2: Edit Page
The editor is easy to use.
Select fonts, styles and colors from on-screen menus (much like
Microsoft Word)
Upload your own photos or select from our vast library of free
images. |
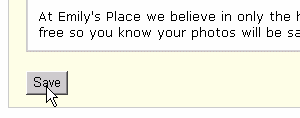 |
When done click "Save". |
 |
Step 3: View your changes
You're done!
Next Steps
- Add more pages & pictures
- Customize your layout
- Add your logo
- Select a Domain Name
- Create Email Accounts
- Market your site
|
|

